Build, Publish and Deploy to ECS
In your JFrog Platform instance, go to Application > Pipelines > Pipeline Sources.

Click Add a pipeline source.
Click Add Pipeline Source at the top right and select From YAML.

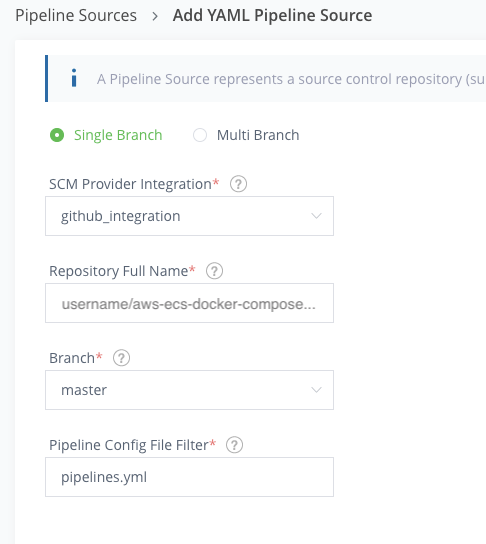
For SCM Provider Integration, select the github_integration that you created previously.
For Repository Full Name, select your forked
/aws-ecs-docker-compose-workshop .For Branch, select master.
Leave Pipeline Config File Filter as pipelines.yml.
Click Create Source. JFrog Pipelines will process the CI/CD pipeline. The status should show Not Synced then Syncing and then Success.

Go to Application > Pipelines > My Pipelines. Notice that your pipeline has a status of Not Built.
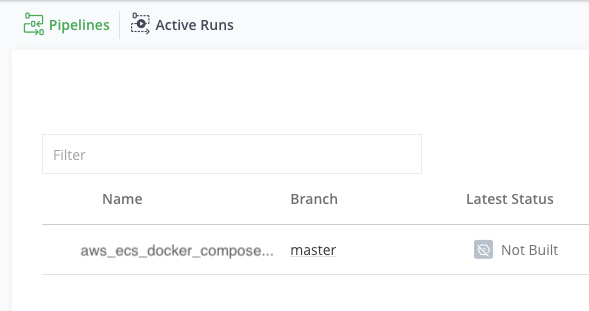
Click on your pipeline, aws_ecs_docker_compose_workshop_app_build.

Click on the app_docker_build step and trigger the step to execute the pipeline. JFrog Pipelines will allocate build nodes and execute your pipeline.
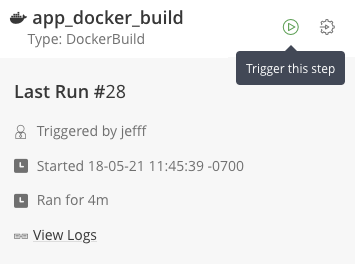
It will take a few minutes to execute. Click on the Run to monitor the status of each step.
Use the pulldown to select each step and view the logs.
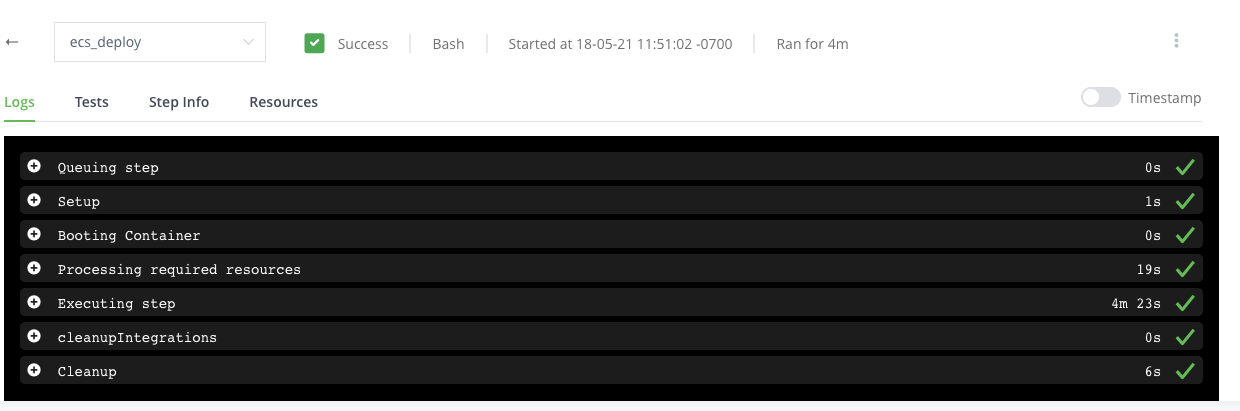
When the pipeline execution completes (approximately 5-10 minutes), view the log for the ecs_deploy step.
While this pipeline is executing, go to the CloudFormation console to watch the CloudFormation stack create the new ECS cluster. You can also go to the ECS console to observe the new cluster.
Scroll down to get the PORTS value. Enter the value into your browser to view the application!
