Set up our JFrog Pipelines Integrations
Our CI/CD pipeline requires access to GitHub to pull our code, access to JFrog Artifactory to deploy our Docker image and access to AWS to deploy to EKS. We will set up JFrog Pipelines integrations to enable these.

An Integration connects Pipelines to an external service/tool. Each integration type defines the endpoint, credentials and any other configuration detail required for Pipelines to exchange information with the service. All credential information is encrypted and held in secure storage, in conformance with best security practices.
You may have already created these integrations in previous steps. If so, you can reuse them and do not need to recreate them. JFrog Pipelines allows you to share integrations and resources across pipelines.
In your JFrog Platform instance, go to Administration > Pipelines > Integrations.
Click Add an Integration.
For the Name, enter artifactory_integration.
For Integration Type, select Artifactory.
Click Get API Key to generate an API key.
Click Test connection to validate.
Click Create to create the integration.

Click Add an Integration again.
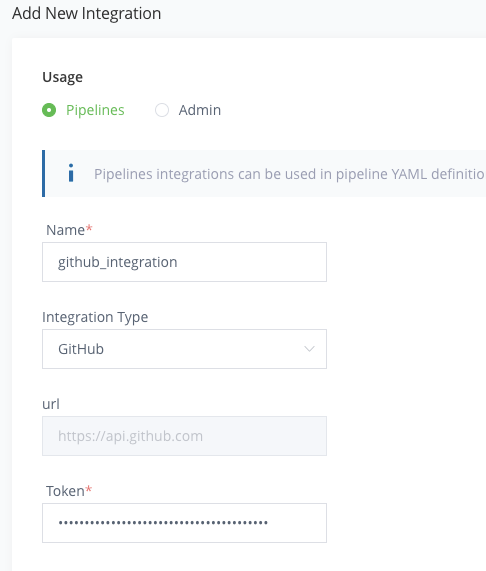
For the Name, enter github_integration.
For Integration Type, select GitHub.
Copy and paste your GitHub personal access token. Ensure it has these minimum GitHub permissions:
- repo (all)
- admin:repo_hook (read, write)
- admin:public_key (read, write)
Click Test connection to validate.
Click Create to create the integration.
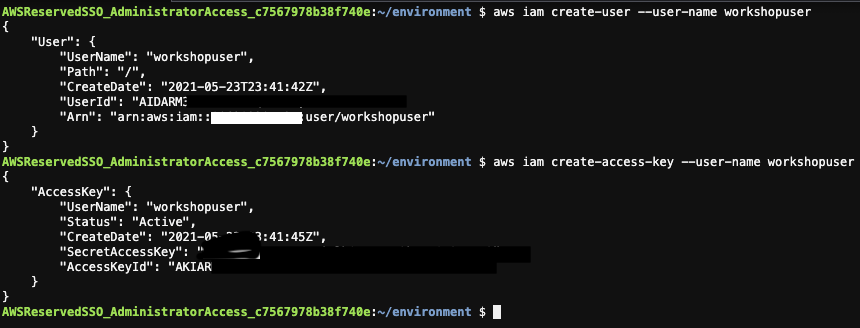
In your Cloud9 terminal, execute the following commands to create a AWS user and access key ID and secret access key.
aws iam create-user --user-name workshopuser
aws iam attach-user-policy --user-name workshopuser --policy-arn arn:aws:iam::aws:policy/AdministratorAccess
aws iam create-access-key --user-name workshopuser
Copy the output of these commands and save it somewhere to put in Jfrog Platform.
Now you will also have to update the configmap with the above user created in order to have access to EKS clusters in JFrog Platform. In Cloud9 terminal execute the following command to edit configmap.
kubectl edit -n kube-system configmap/aws-authAdd the MapUsers section as shown in highlighted red box
mapusers: |
  - userarn: arn:aws:iam::<id>:user/workshopuser
    username: workshopuser
    groups:
      - system:masters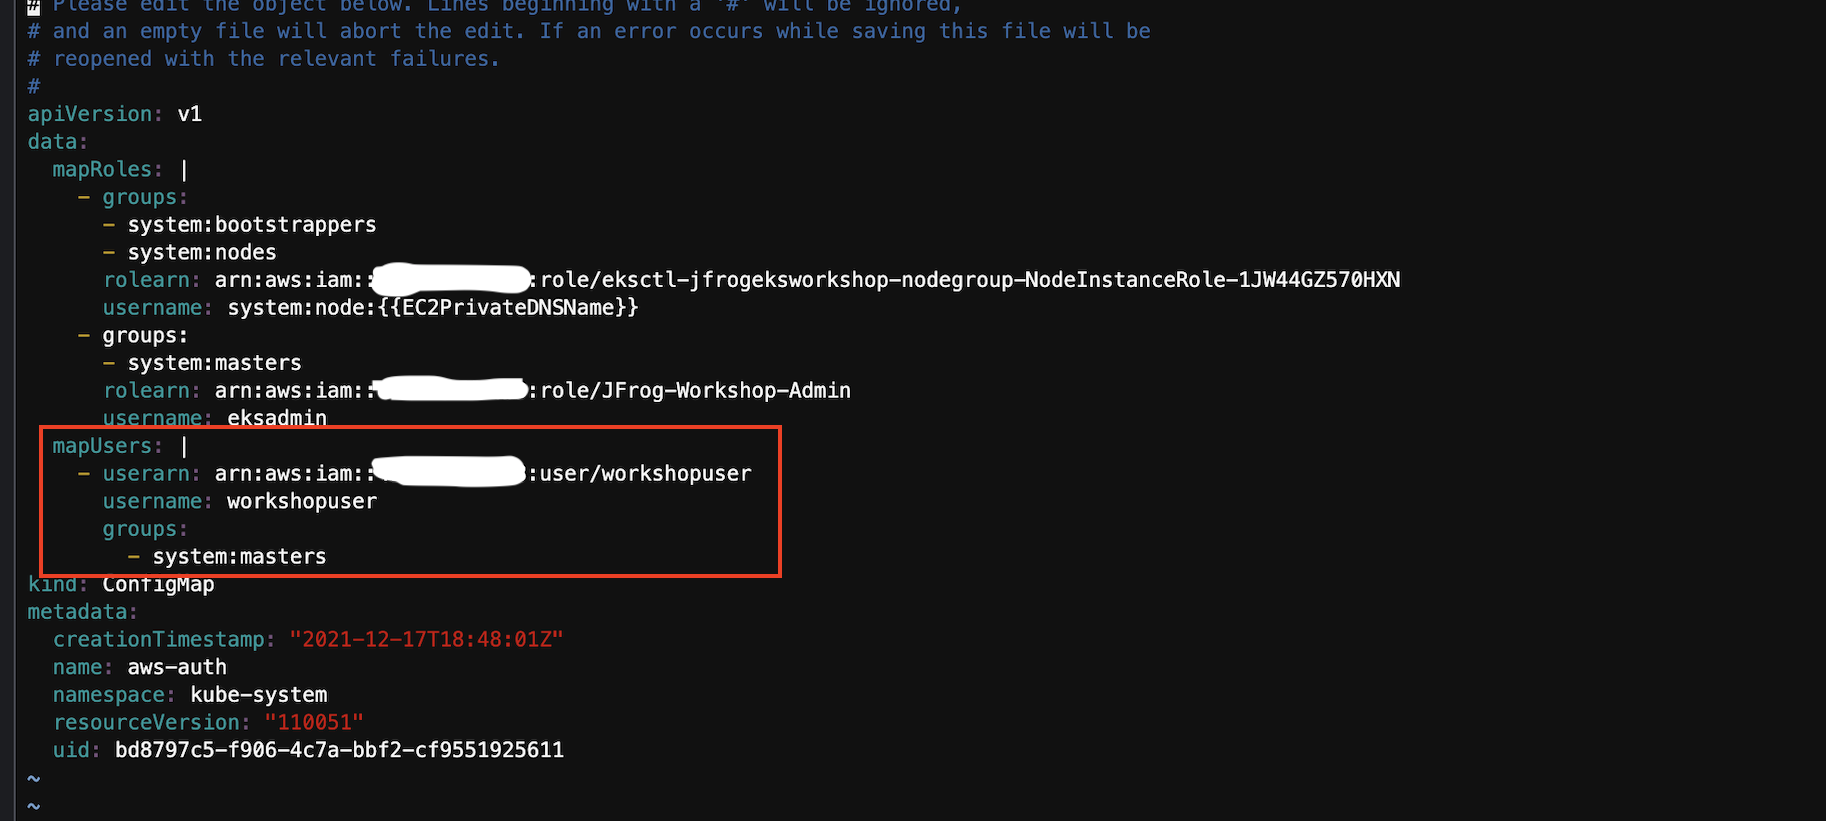
Go back to your JFrog Platform instance and go to Administration > Pipelines > Integrations.
Click Add an Integration again.
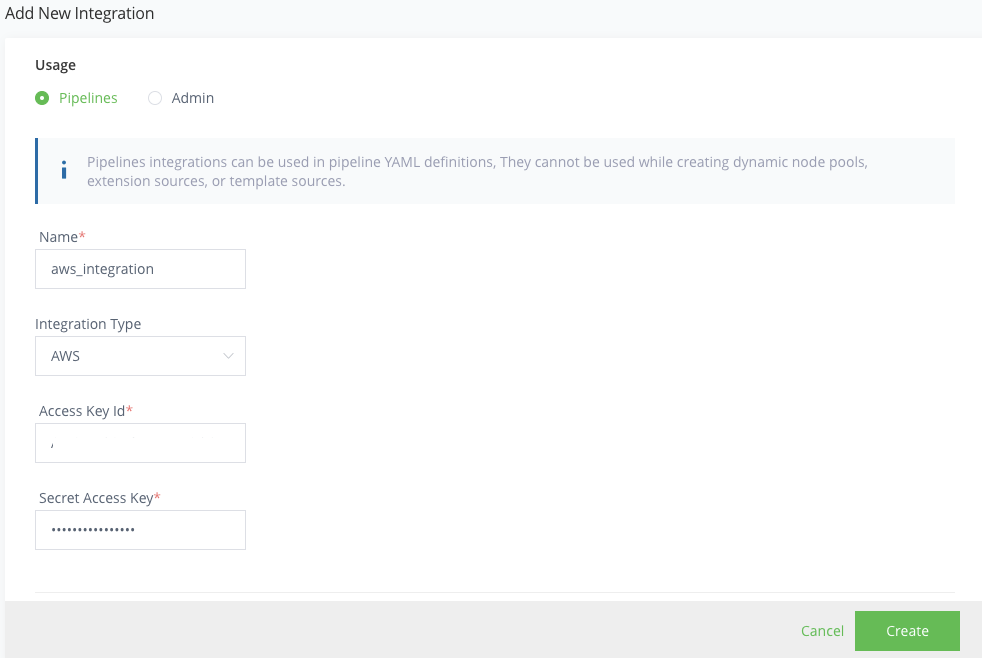
For the Name, enter aws_integration.
For Integration Type, select AWS.
For the Access Key Id and the Secret Access Key, enter the values from above.
Click Create to create the integration.
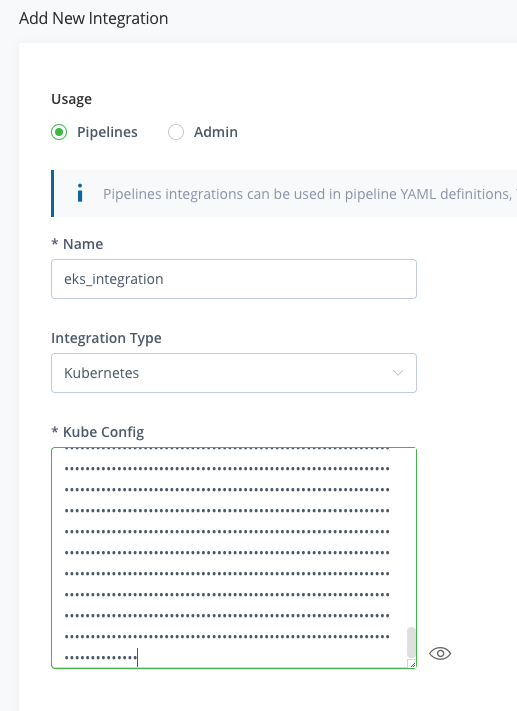
Click Add an Integration again.
For the Name, enter eks_integration.
For Integration Type, select Kubernetes.
Paste in the Kubeconfig output from the steps where you created your EKS cluster.
Click Create to create the integration.
Click Add an Integration again.
For the Name, enter pagerduty_integration.
For Integration Type, select PagerDuty Events.
Enter the PagerDuty Pipelines Integration Key created in the prior steps for Service Integration/routing key.
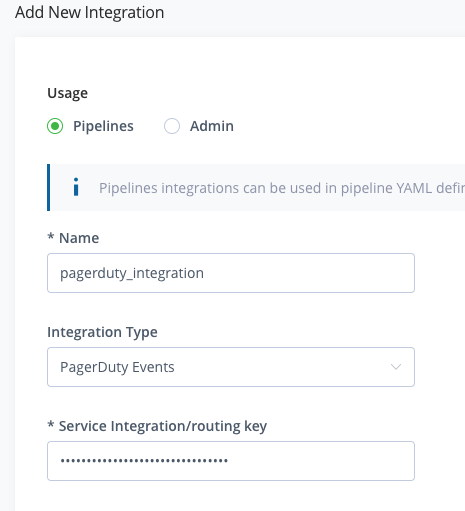
Click Create.
Go to Administration > Xray > Settings.
Click on Webhooks in the General tile.
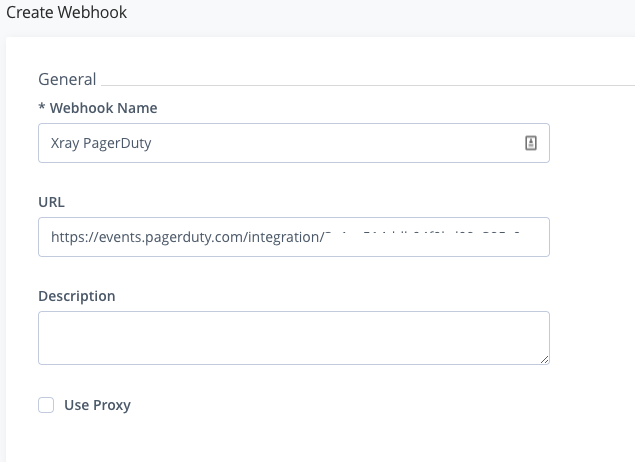
Create a New Webhook.
Enter Xray PagerDuty for the Webhook Name
Enter the PagerDuty Xray Integration URL for the URL. ex: https://events.pagerduty.com/integration/< integration id >/enqueue
Click Create.
Go to Administration > Xray > Watches & Policies.
Click on the High-Severity policy that you created earlier.
Then click on the edit icon for the High-Severity rule that you created earlier.
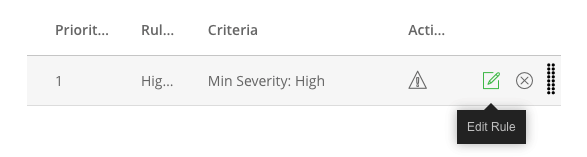
Scroll down and enable Trigger Webhook and select Xray Pagerduty, the webhook that you created in the previous steps.
Click Save to save the rule.
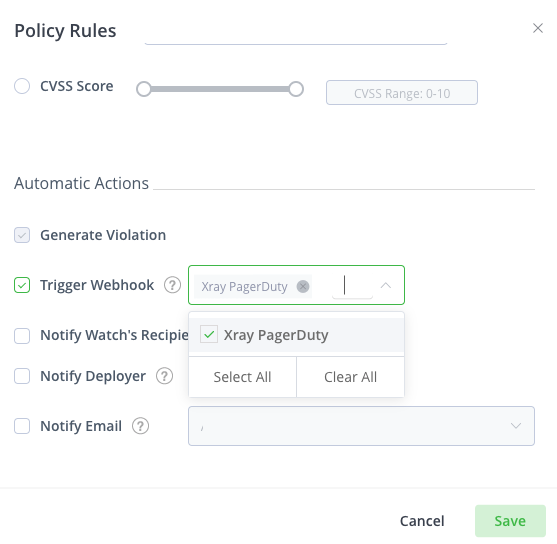
Click Save to save the policy.
Similarly, now create a webhook for artifactory also. Go to Administration > General > Webhooks and click on New Webhook.
Enter Artifactory Pagerduty Docker for the Webhook Name
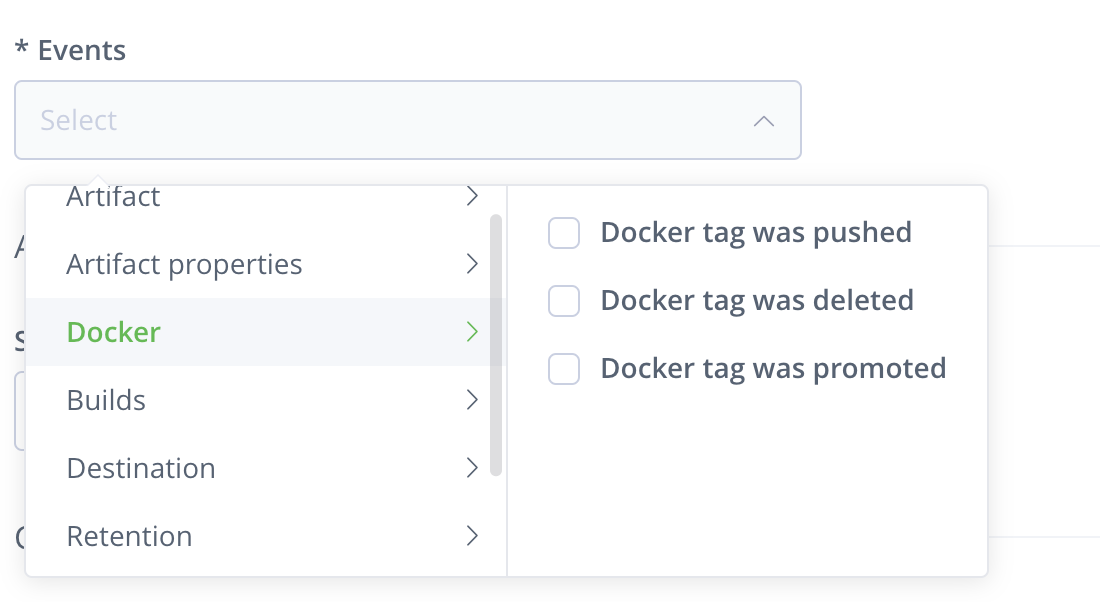
Enter the PagerDuty Artifactory Integration URL for the URL and select Docker from the Events and check all docker events.
Repeat steps 46-48 to create one more webhook Artifactory Pagerduty Artifact for the events Artifacts.
Congratulations! We have created the integrations that are required for our CI/CD pipeline.